


Custom Cap Embroidery Guide: Artwork, Digitizing And Sample Approval
Aug 27, 2026
Leave a message
Embroidery can make a custom cap feel substantial, durable and retail-ready, but a strong result begins long before the first production stitch. The buyer's artwork, cap construction, logo placement and digitizing plan must work together on a curved surface.
A logo that looks clean on a computer screen may become crowded across a center seam, distort near the visor or lose small details when converted into stitches. For overseas brands and importers, the practical goal is not simply to send a logo file. It is to create an embroidery specification that a supplier can sample, measure visually and reproduce consistently.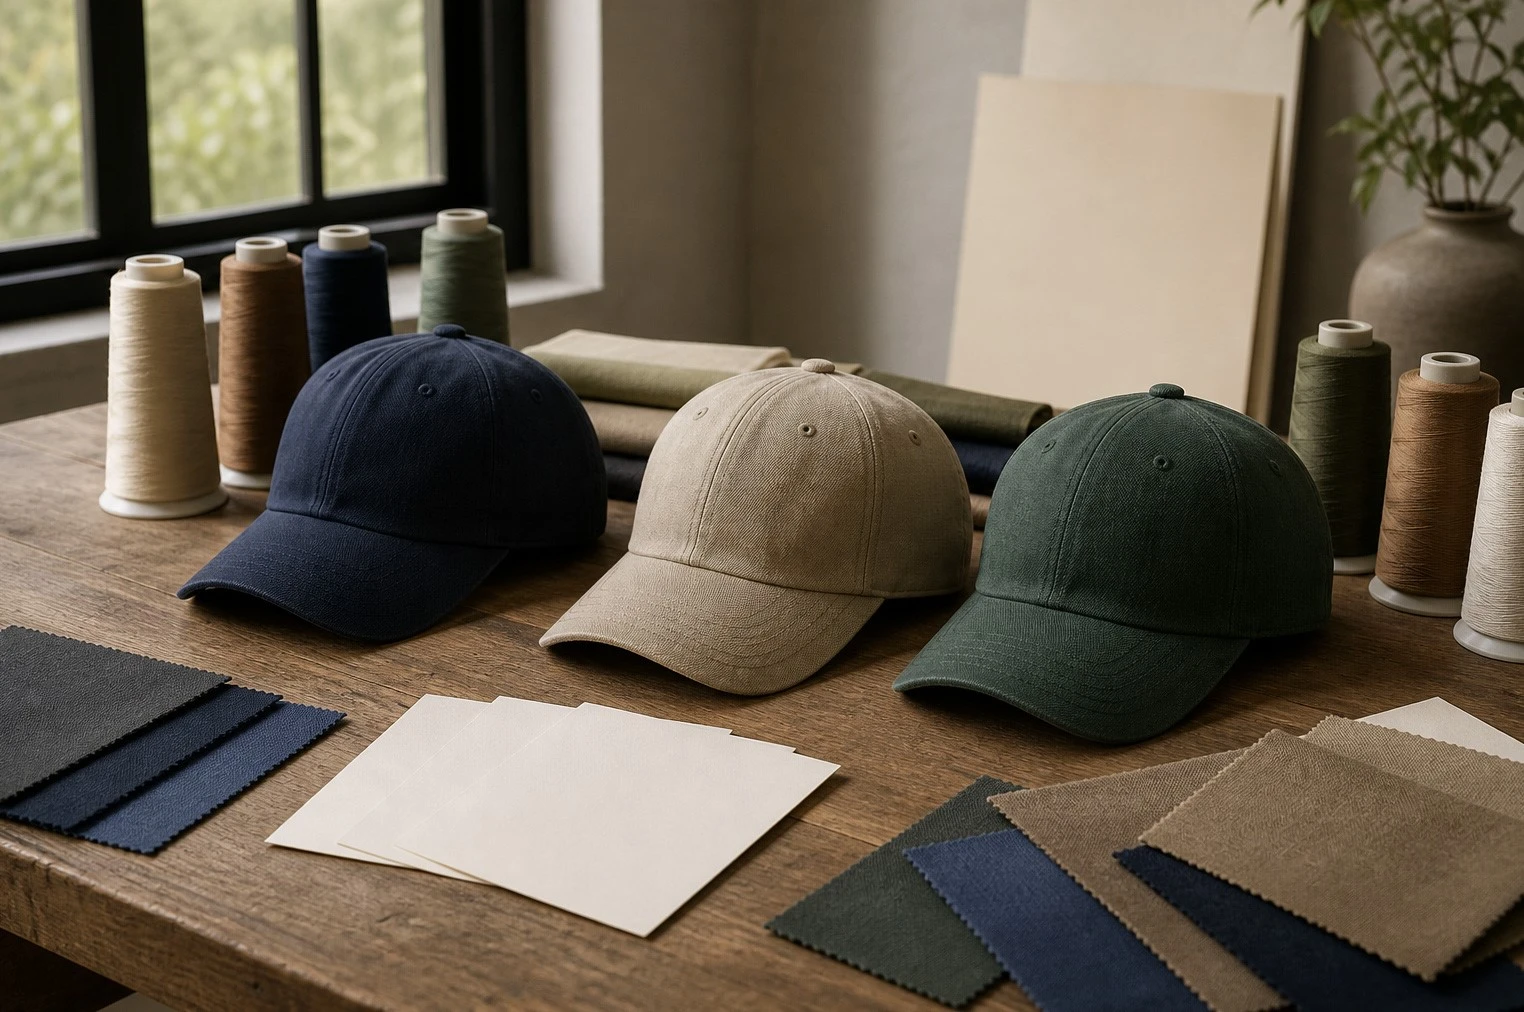
Start with the Intended Appearance, Not the Stitch Count
Before requesting a quote or sample, describe the visual result you want. Is the logo meant to look flat and precise, soft and tonal, bold and raised, or like a separate heritage patch? This decision affects artwork preparation, thread coverage, backing, sample time and the cap styles that can support the decoration.
### Flat Embroidery
Flat embroidery is suitable for many logos, symbols and short wordmarks. It can combine satin stitches, fill stitches and running stitches, but tiny gaps and thin lines may need to be simplified. Ask the supplier to identify elements that are too small or too close together rather than silently changing the artwork.
### 3D Puff Embroidery
Raised embroidery places foam beneath selected stitched areas to create height. It works best when the chosen shapes are sufficiently bold and separated. Very fine details, tight corners and small negative spaces may not produce a clean raised edge. A buyer should approve the actual stitched sample, not a digital mock-up alone.
### Embroidered Patches
A patch can be useful when the artwork needs a defined border, a different base texture or easier placement on a difficult cap area. The development brief should state the patch shape, edge treatment, attachment method and final position. Do not assume that a patch and direct embroidery will look identical even when they use the same artwork.
## Prepare Artwork for a Curved Cap Surface
Supply vector artwork when available, together with the intended color references and a simple visual showing the preferred placement. Also provide a high-resolution reference image if it explains texture or relief. Avoid using a lifestyle photograph as the only production file because perspective and lighting can hide the actual proportions.
Digitizing is the process of converting artwork into stitch instructions. It is not merely changing a file format. The digitizer decides stitch types, directions, underlay, sequence, density and trims according to the fabric and cap structure.
Melco's cap-digitizing guidance recommends sewing from the bill toward the crown and from the center seam toward the sides. Madeira USA gives the same center-out and bill-up direction and advises segmenting designs to reduce registration problems. These principles help control material movement on a curved, partly constrained surface.
## Match Placement to the Cap Construction
The usable embroidery area varies with crown height, panel shape, center seam, visor position and frame limits. A low-profile cap cannot always carry the same tall front logo as a high-profile cap. Side and back placements also behave differently because those areas may have less internal structure.
Instead of approving placement only by a dimension, review a photograph of the logo on the actual cap sample from the front, side and wearer's eye level. Check whether the logo appears centered when the cap is worn, whether the bottom edge sits comfortably above the visor and whether the design crosses a thick seam.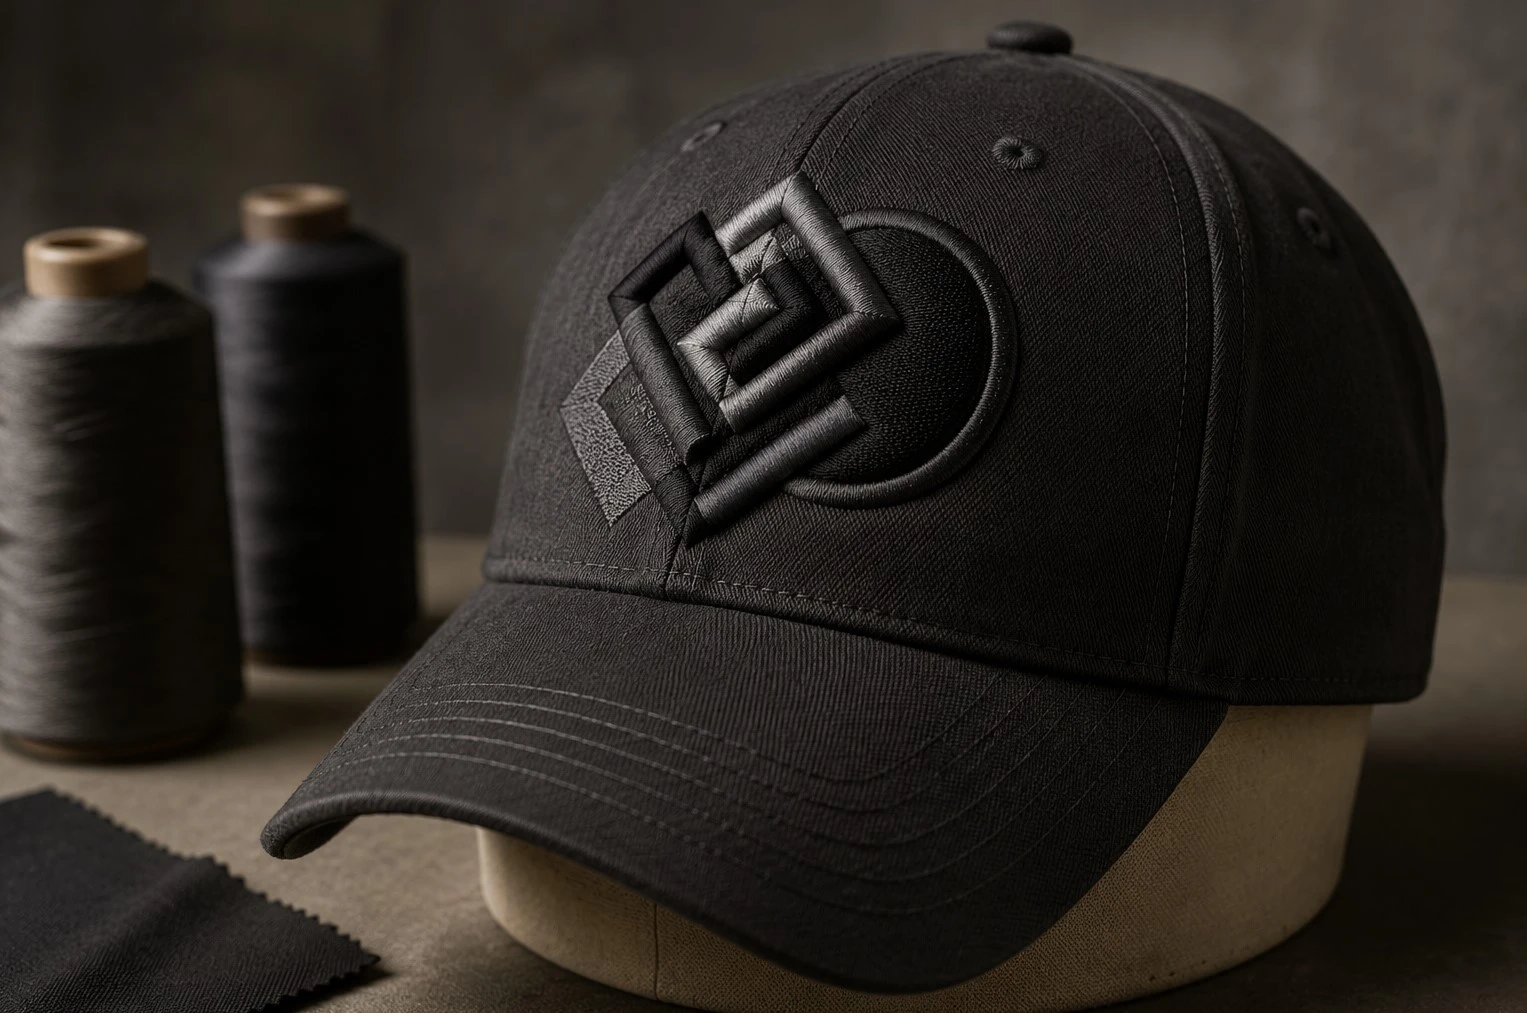
Embroidery quality depends on how securely the cap is held while stitching. Embroidery Legacy explains that unstructured caps generally need cap backing because they do not have the fused internal support often found in structured front panels. Madeira USA also notes that backing helps both structured and unstructured caps move more smoothly and remain supported during hooping.
For buyers, the lesson is simple: approve the embroidery on the correct cap construction and fabric. A successful logo stitched on one blank style is not automatic proof that it will perform the same way on another. Mesh, stretch fabric, soft washed cotton and stiff laminated fronts may require different stabilization or digitizing decisions.
## Build a Practical Sample-Approval Checklist
Evaluate the physical sample in normal lighting and at a realistic viewing distance. Macro photographs are useful for detecting defects, but the cap must also look balanced as a finished product.
Check the following points:
- overall logo size, position and visual centering;
- thread colors against the approved reference;
- clean edges and readable negative spaces;
- alignment of outlines, borders and color layers;
- puckering, rippling or distortion around the design;
- exposed foam, loose threads or rough trimming;
- the inside finish, backing removal and wearer comfort;
- consistency between front, side and back placement samples.
If the sample needs revision, mark the issue on a photograph and describe the desired result. "Make it better" is difficult to reproduce; "move the logo slightly upward and open the gap between these two shapes" creates a usable instruction.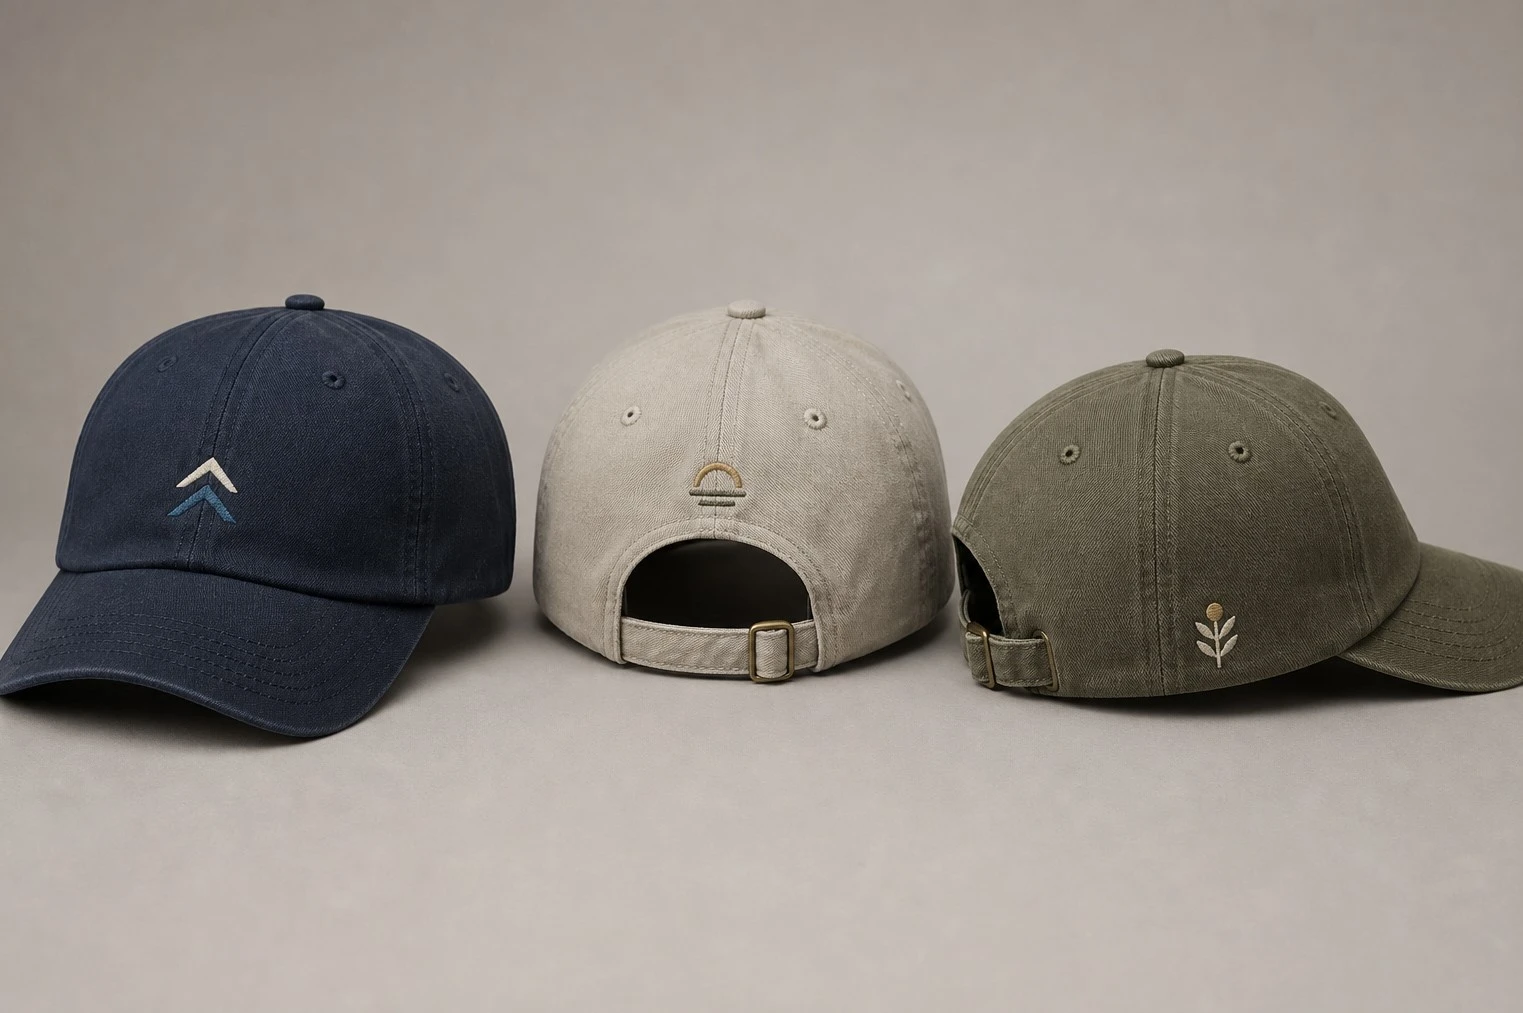
ock the Approved Embroidery Specification
After approval, keep the cap style, artwork version, embroidery file version, thread references, placement reference, sample photographs and written comments together. If the cap material, panel construction or logo size changes, request confirmation that the existing digitizing file remains suitable.
This small amount of change control reduces a common sourcing risk: one party approving the appearance while another party works from an older file. The approved physical sample and controlled specification should remain the reference for bulk-production review.
## Plan Your Next Custom Cap Development
A reliable embroidery program begins with clear artwork, a cap-specific digitizing approach and a physical sample reviewed on the intended cap construction. Overseas buyers should ask suppliers to explain technical limits early and document every approved change.
If you are preparing a custom headwear project, send your cap style, artwork, preferred decoration effect, placement ideas, color references and target use for a technical review. Confirm the supplier's actual capabilities, commercial terms and production schedule before placing an order.